
The Meaning of Locations and How to Take Advantage of Them
Marvel Snap is a strategic card game where locations play a crucial role. Understanding the mechanics of these locations can significantly enhance your gameplay. This article will explain the importance of locations, how they influence the game, and provide tips for new players on how to choose and leverage locations effectively.

Mechanics of Marvel Snap Locations
What are Locations?
- Definition and Basic Explanation:
Locations in Marvel Snap are special zones on the battlefield where players place their cards. Each game features three different locations, each with unique effects that can alter the course of the match. - Role in Determining the Game’s Outcome:
The primary objective in Marvel Snap is to control more locations than your opponent by the end of the game. Each location’s effect can either benefit or hinder your strategy, making it essential to understand and adapt to these effects to secure victory.
Revealing Locations
Locations are revealed sequentially as the game progresses. Typically, the first location is revealed at the start of the game, the second on turn 2, and the third on turn 3. This gradual revelation adds an element of unpredictability, requiring players to adapt their strategies as new information becomes available.
Types of Locations
Overview of Different Types and Their Effects:
- Locations that Add Power: Some locations, like Atlantis
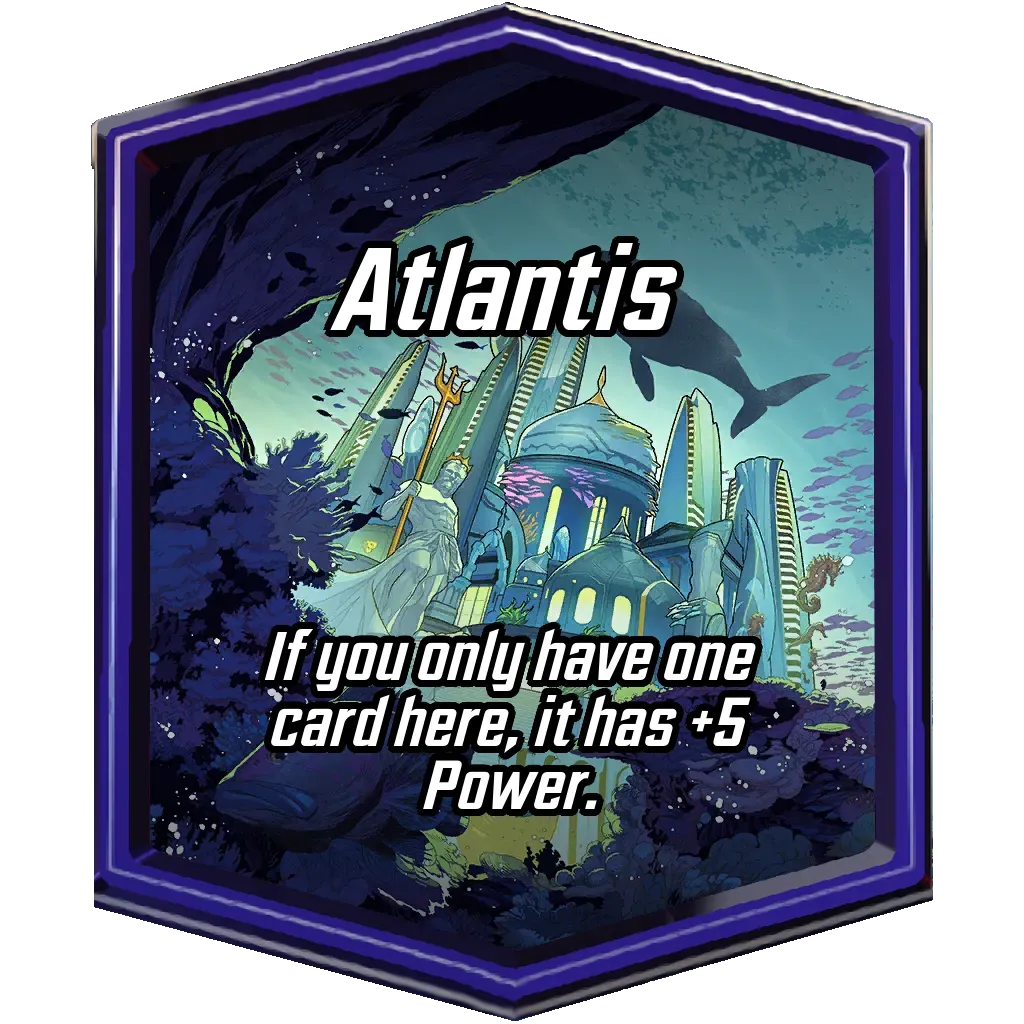 , grant additional power to cards placed there under certain conditions. For example, Atlantis gives +5 Power if you have only one card there.
 - Locations that Limit Card Play: Locations such as Crimson Cosmos
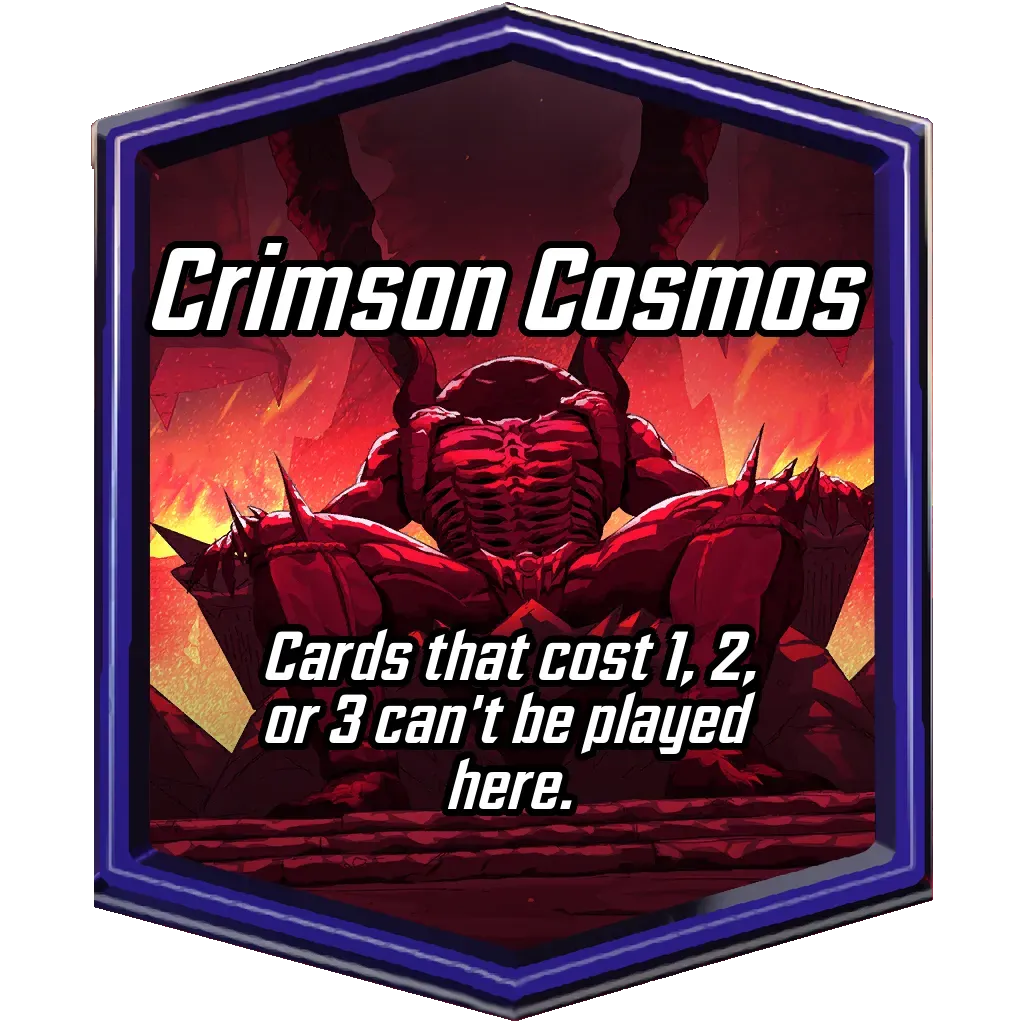 prevent cards that cost 1, 2, or 3 from being played there, forcing players to plan their moves carefully.
 - Locations with Unique Abilities: Many locations have distinct abilities that can significantly impact gameplay. For instance, Bar Sinister
 fills the location with copies of the card you play there, while Sanctum Sanctorum
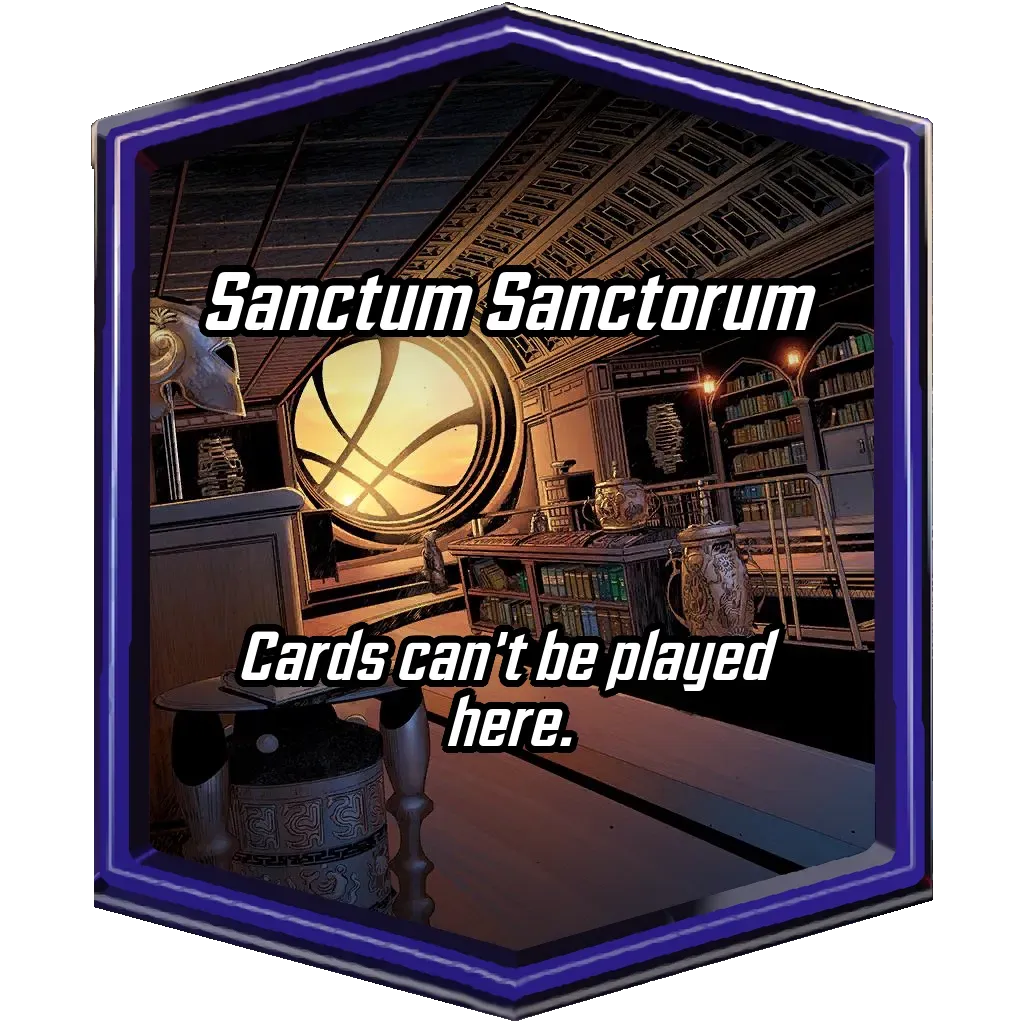 prohibits any cards from being played at that location.

Example Locations and Their Strategies
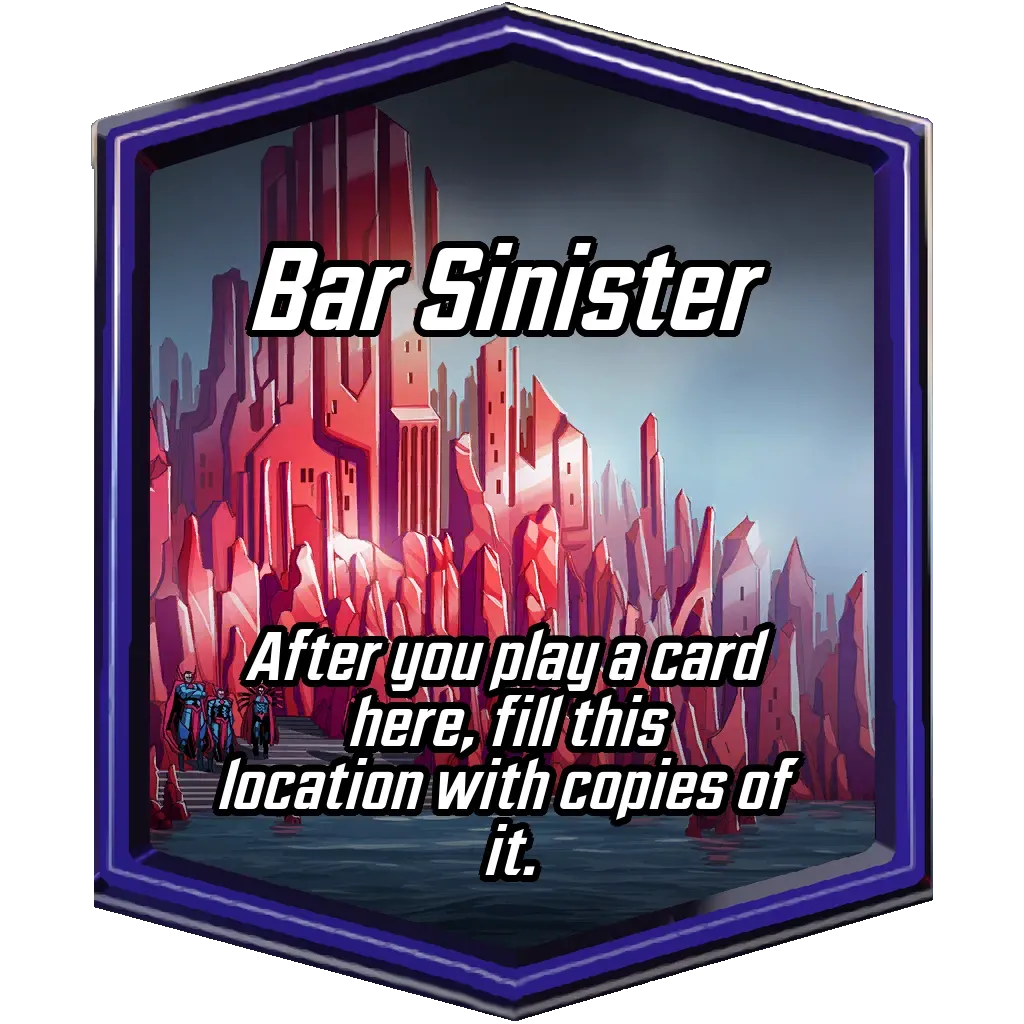
Bar Sinister
- Effect: After you play a card here, fill this location with copies of it.
- Strategy: Utilize cards with powerful or beneficial On Reveal abilities to maximize the advantage. Cards like White Tiger, which adds an 8-Power Tiger to another location, can significantly shift the balance in your favor.
Sanctum Sanctorum
- Effect: Cards can’t be played here.
- Strategy: Plan to use cards that can move into this location or deploy cards that influence multiple locations, such as Iron Man or Captain Marvel.
Daily Bugle
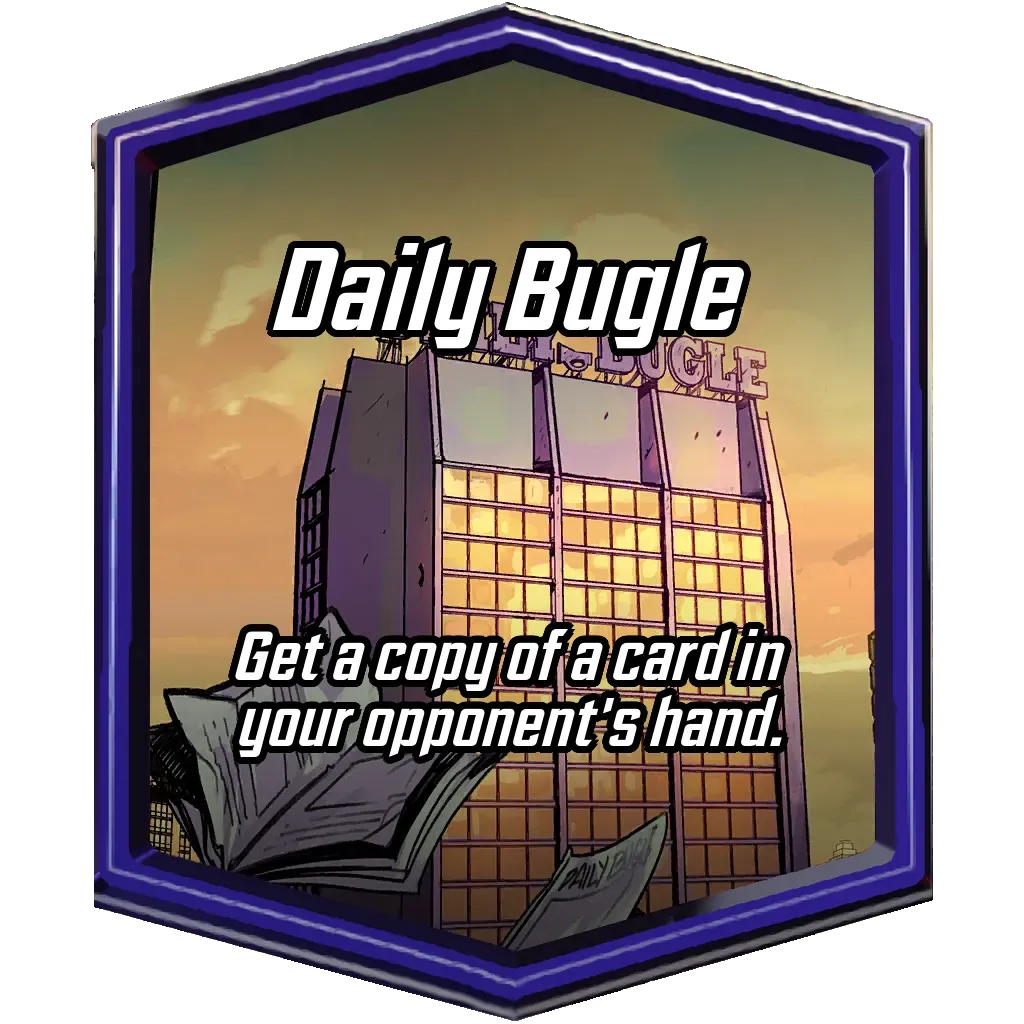
- Effect: Get a copy of a card in your opponent’s hand.
- Strategy: Use the information gained from the Daily Bugle to anticipate your opponent’s moves and counter them effectively.
Importance of Locations in Gameplay
Strategic Impact
Locations in Marvel Snap are more than just static zones where you place your cards—they actively shape the dynamics of each match. Each location comes with unique rules and effects that can either bolster your strategy or challenge it, forcing you to adapt on the fly. For instance, a location that adds power to cards played there might incentivize aggressive plays, while one that limits card play could require more tactical planning.
Examples of How Different Locations Can Alter the Outcome of Matches
Altar of Death

- Effect: “After you play a card here, destroy it to get +2 Energy next turn.”
- Strategic Use: This location can be a double-edged sword. While you lose a card, you gain extra energy to play more powerful cards in subsequent turns. Utilizing low-cost cards that you can afford to lose will give you an energy boost without severely impacting your board presence.
Danger Room
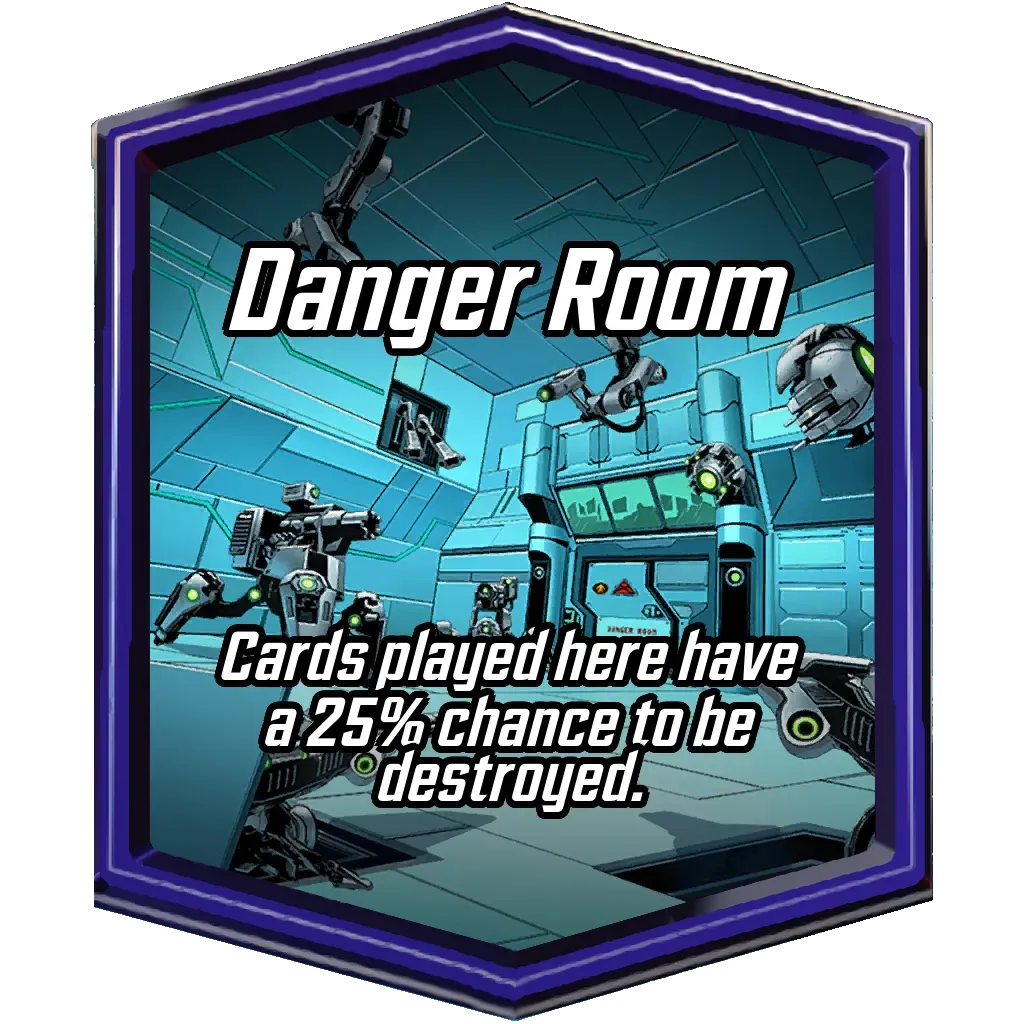
- Effect: “Cards played here have a 25% chance to be destroyed.”
- Strategic Use: This location adds an element of risk. It can disrupt carefully planned strategies if key cards are destroyed. Players might choose to either avoid this location or use it to their advantage by playing cards that benefit from being destroyed, such as Wolverine or Deadpool.
Baxter Building
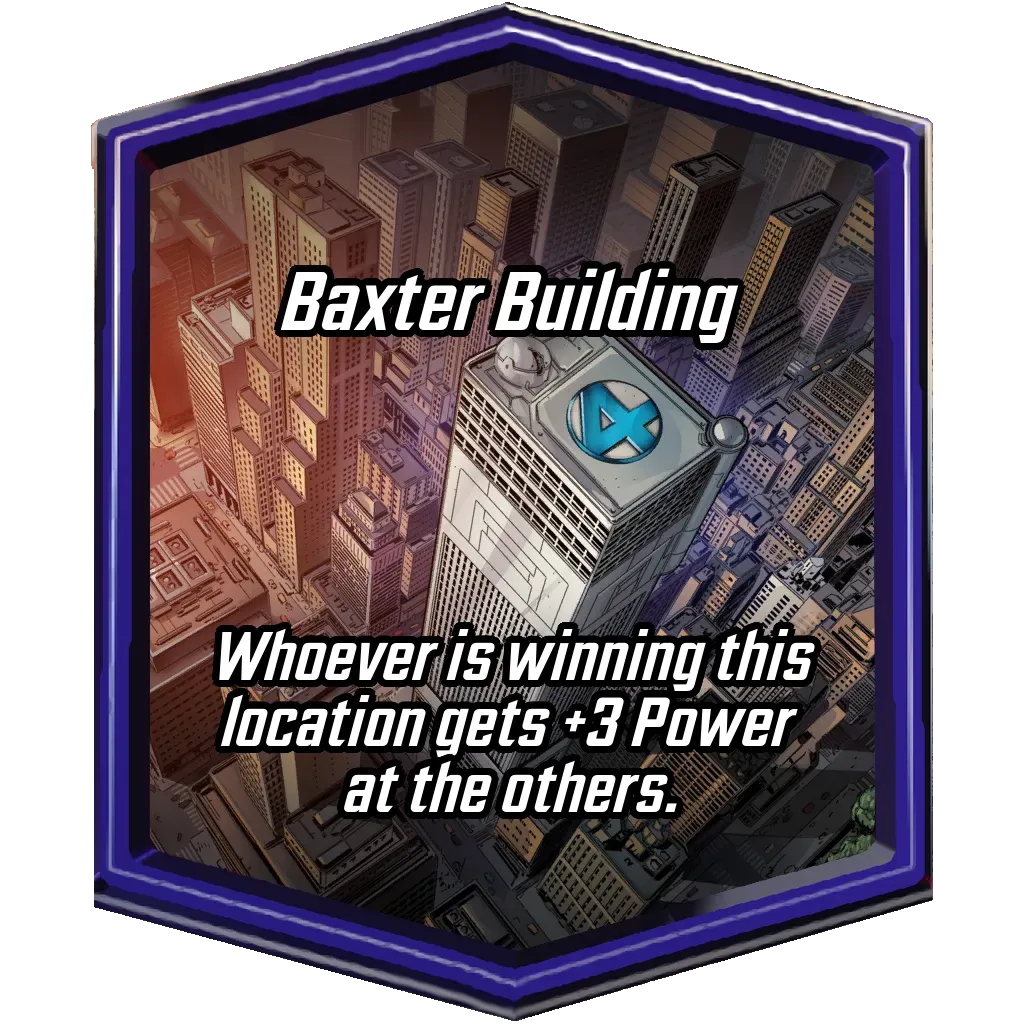
- Effect: “Whoever is winning this location gets +4 Power at the others.”
- Strategic Use: Controlling the Baxter Building can provide a significant advantage by boosting your power across all locations. This makes it a prime target for early game control and sustained dominance.
Explanation of How Controlling Two Out of Three Locations Leads to Victory
The core objective in Marvel Snap is to control the majority of locations by the end of the game. Each match has three locations, and victory is achieved by securing control over at least two of them. This means that even if you lose one location, winning the other two will grant you the win. The importance of this mechanic cannot be overstated, as it requires players to balance their efforts across multiple fronts rather than focusing all their resources on a single location.
Importance of Adapting Strategies Based on Revealed Locations
- Flexibility is Key: As locations are revealed gradually, successful players must remain flexible and adjust their strategies accordingly. If the first revealed location heavily favors a particular playstyle, consider adjusting your approach to capitalize on this advantage.
- Early Adaptation: By the time the second location is revealed, you should start formulating a plan that considers the combined effects of the known locations. Adaptation becomes crucial as you predict potential challenges and opportunities that the third location might present.
- Reactive Play: Finally, once all locations are revealed, it’s essential to reassess your overall strategy. Determine which locations are worth contesting and which can be sacrificed if needed. This approach helps in allocating resources efficiently and maximizing your chances of controlling two locations by the end of the game.
Example Scenario
- Initial Location: Central Park
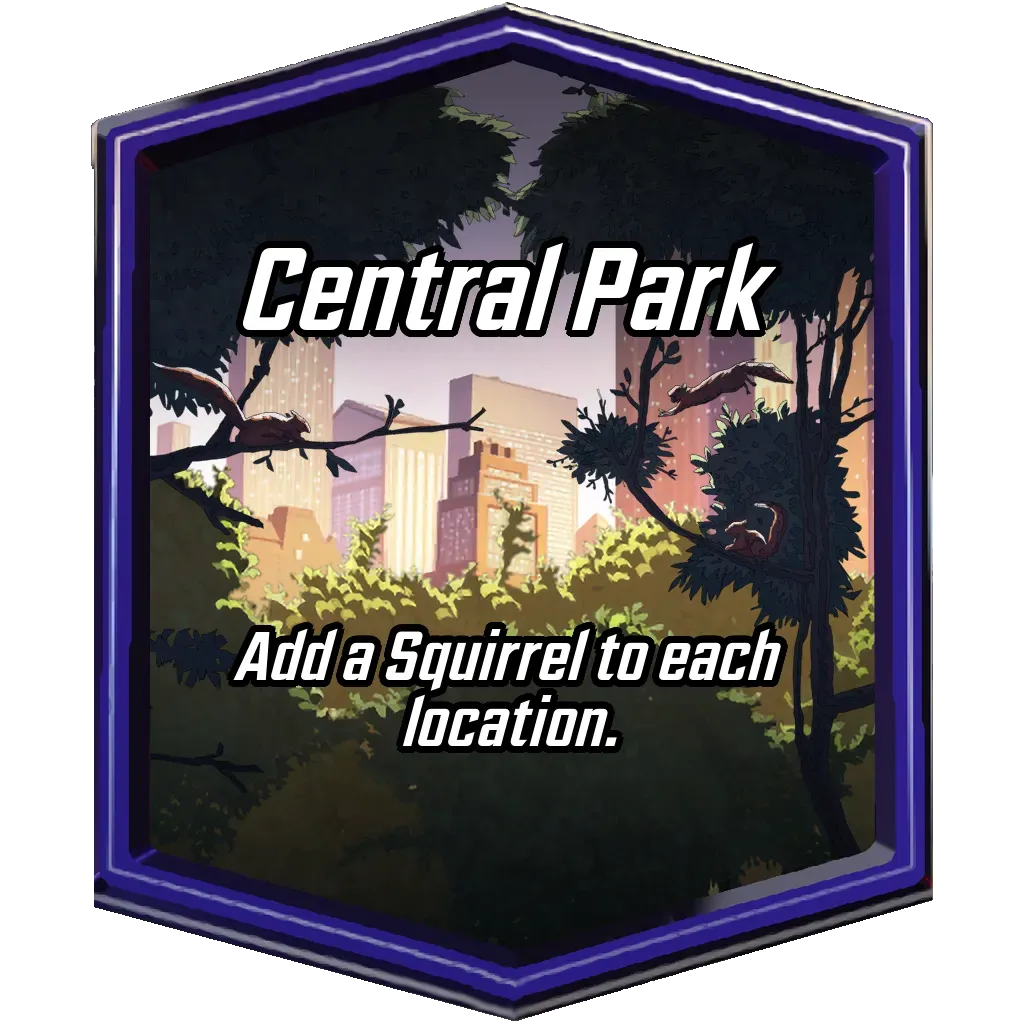 (“Add a Squirrel to each location.”) – This initially clutters the board, requiring strategic use of space.
 - Second Location: Asgard
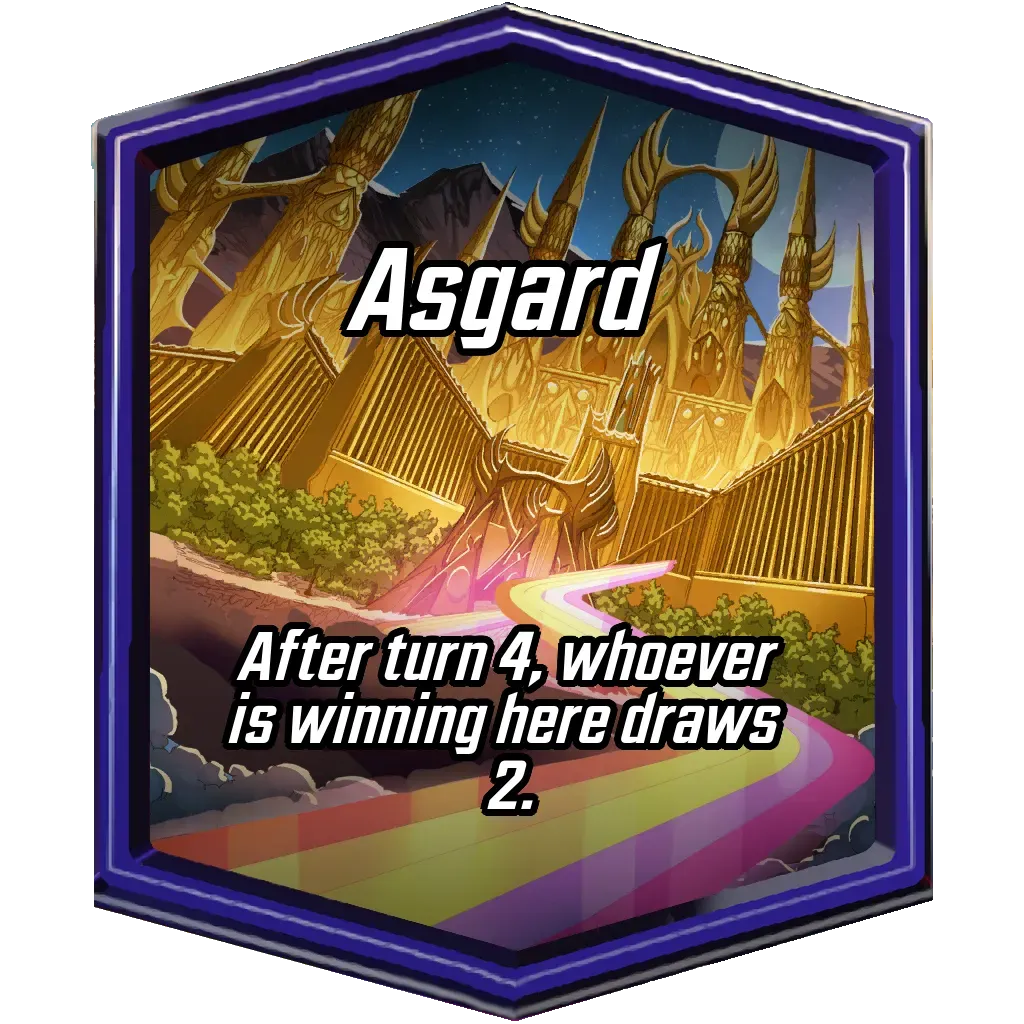 (“After turn 4, whoever is winning here draws 2 cards.”) – Winning Asgard can provide a significant card advantage, making it a high-priority location.
 - Third Location: Necrosha
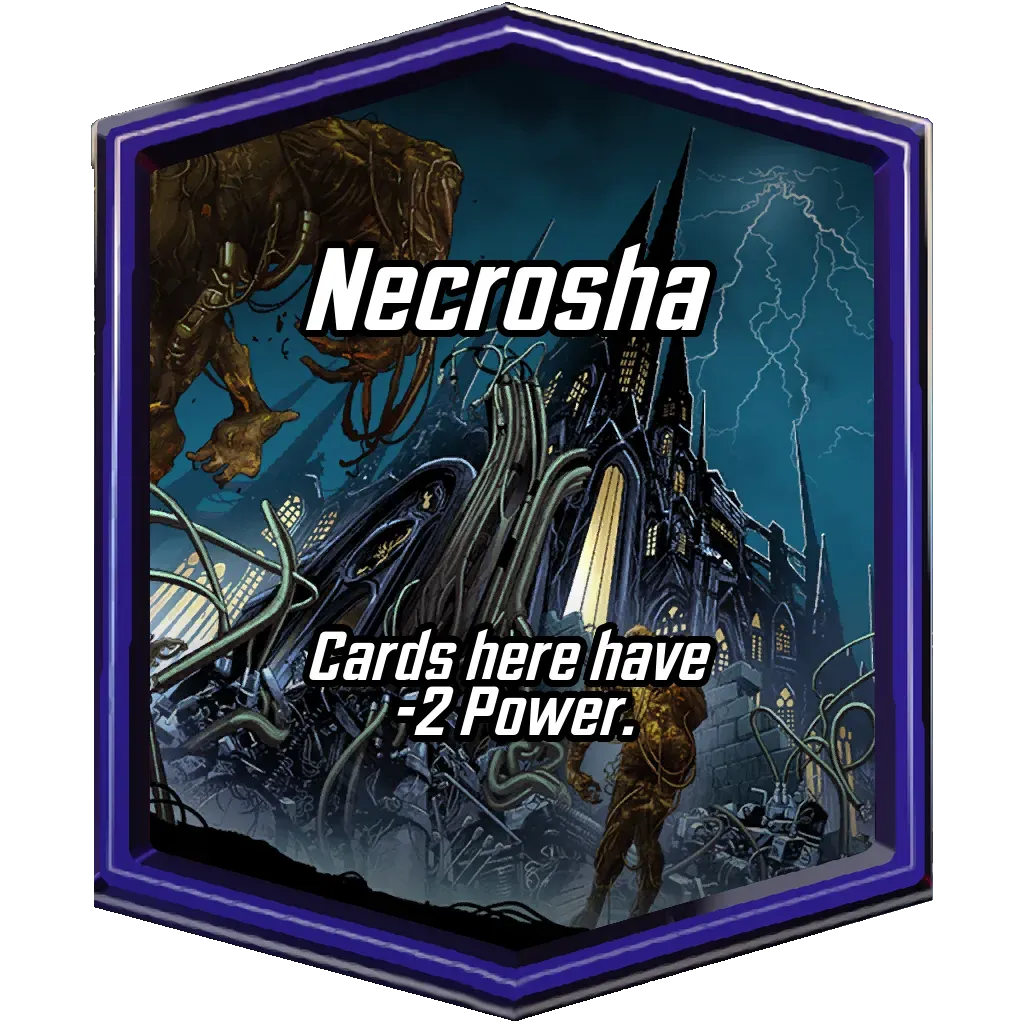 (“Cards here have -2 Power.”) – This negatively impacts the power of cards placed there, potentially making it less contested if players can’t afford the power reduction.

In this scenario, you might prioritize controlling Asgard for the card draw while strategically placing lower-power cards or cards that benefit from being destroyed (like Wolverine or Deadpool
 ) in Central Park. Necrosha could be deprioritized unless you have cards that can negate or withstand the power reduction.
Tips for Choosing Cards for Specific Locations
Assessing Location Effects
Quickly assessing the effect of a location once it is revealed is crucial for making informed strategic decisions. Here are some tips on how to evaluate locations and adapt your strategy accordingly:
- Read and Understand: As soon as a location is revealed, take a moment to read and understand its effect. Knowing whether it adds power, limits card play, or has unique abilities will help you decide your next move.
- Immediate Impact: Consider the immediate impact of the location on your current board state and strategy. For example, if the location is Dark Dimension
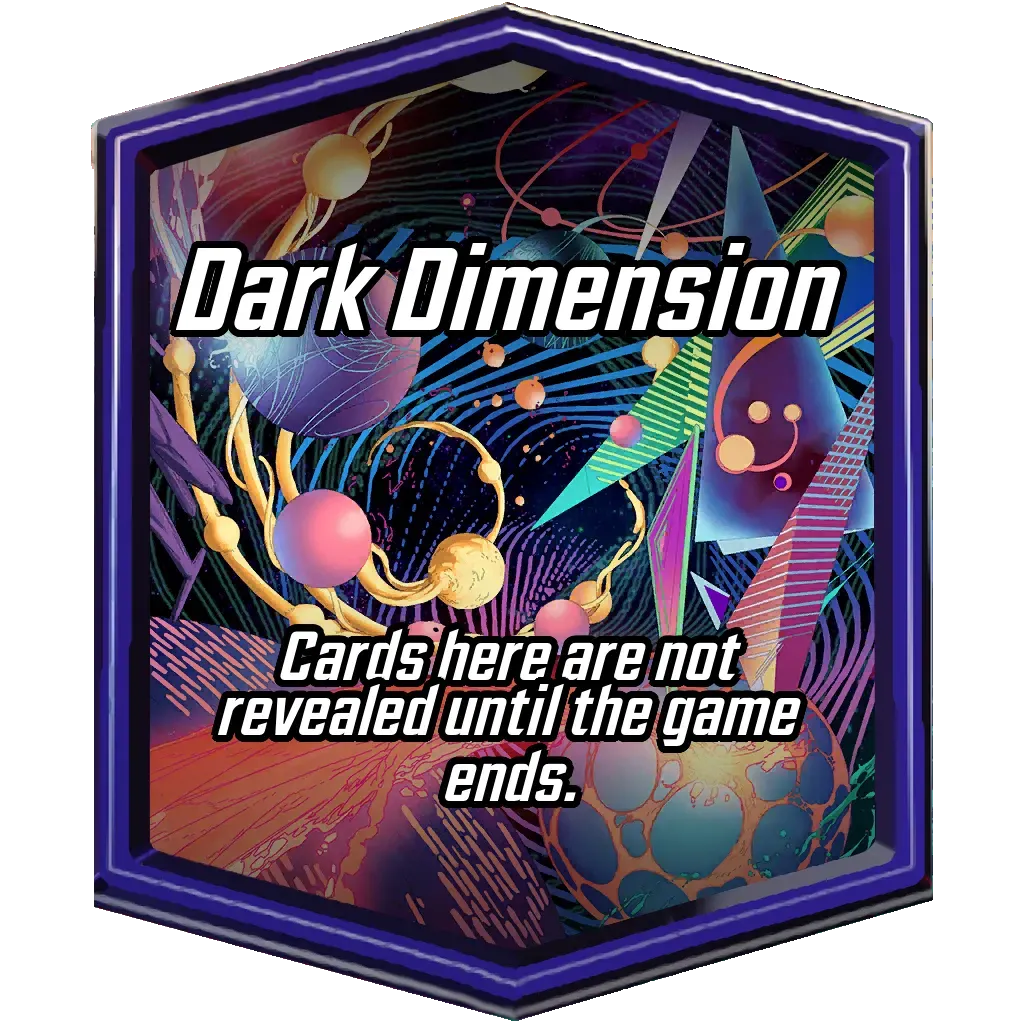 (“Cards here are not revealed until the game ends”), plan to use cards with strong On Reveal abilities that you can surprise your opponent with at the end.
 - Long-term Strategy: Think about how the location will affect your long-term strategy. Locations like Mindscape
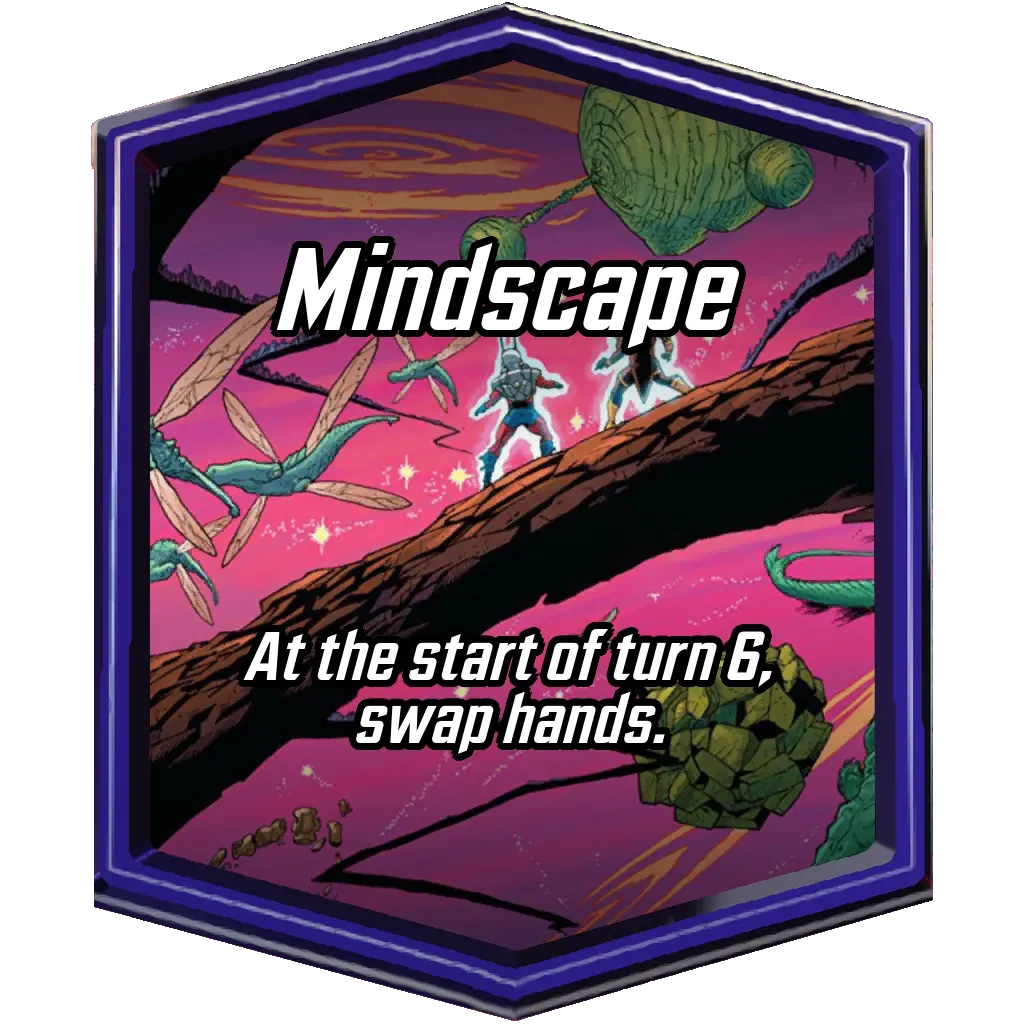 (“At the start of turn 6, swap hands”) require you to play strategically, knowing that your opponent will get to use your cards for the final turn.
Examples of Common Locations and Recommended Strategies
Quantum Tunnel
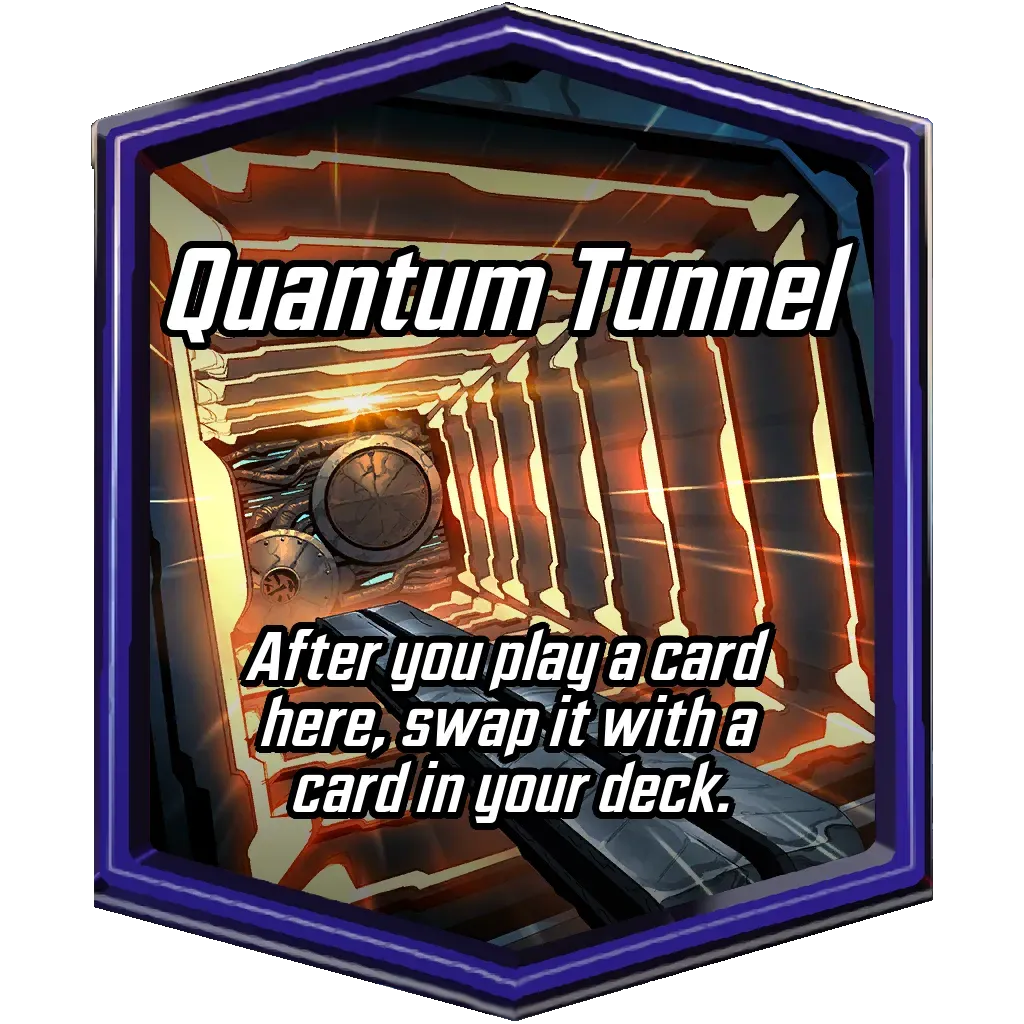
- Effect: “After you play a card here, swap it with a card in your deck.”
- Strategy: Take advantage of cards that benefit from being swapped or having multiple entries on the field. For example, play low-cost cards that trigger beneficial effects when they appear, such as Wolverine (“When this is discarded or destroyed, regenerate it with +2 Power at a random location”) or Multiple Man
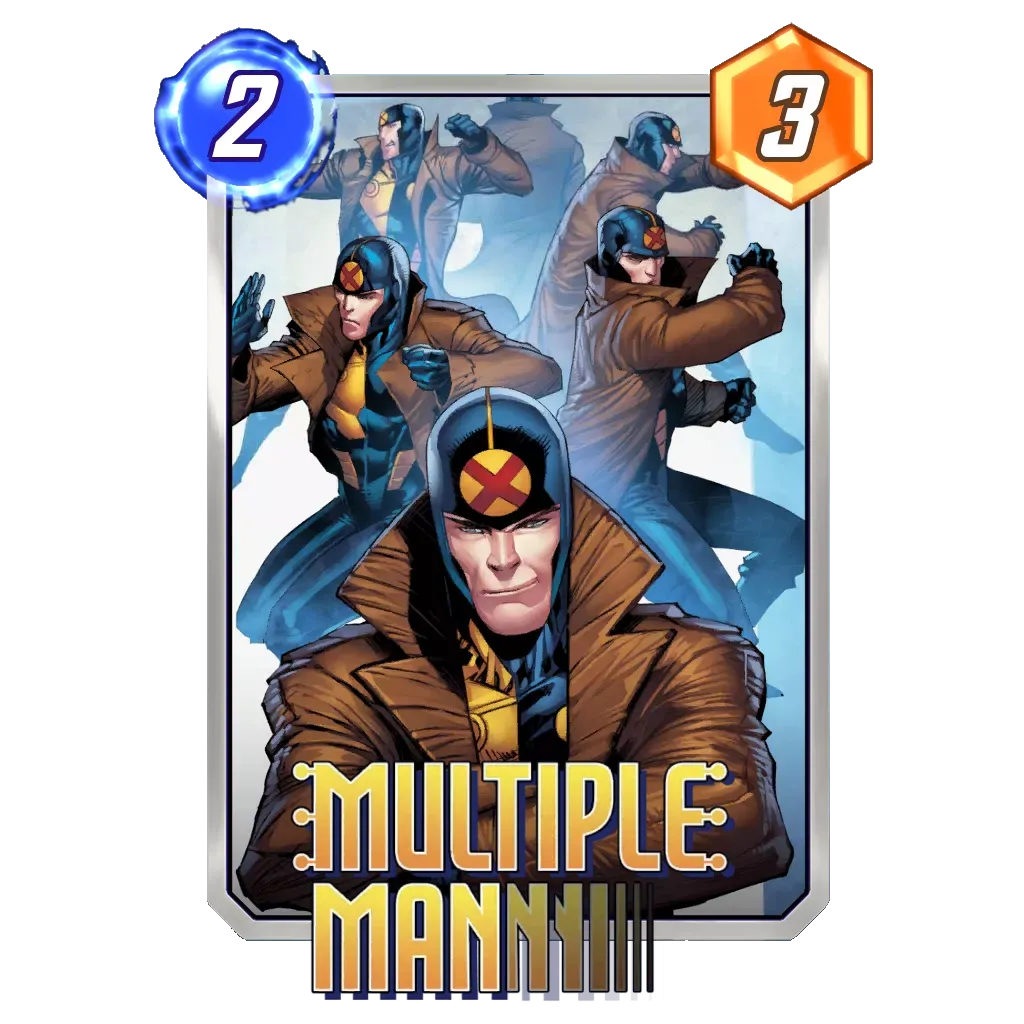 (“When this moves, add a copy to the old location”). These cards can generate additional value as they cycle through your deck.
In addition, having cards in your deck with strong effects when revealed, such as or White Tiger , you can get a strong combo with a burst of power already in the early game (with enough luck).
Fisk Tower
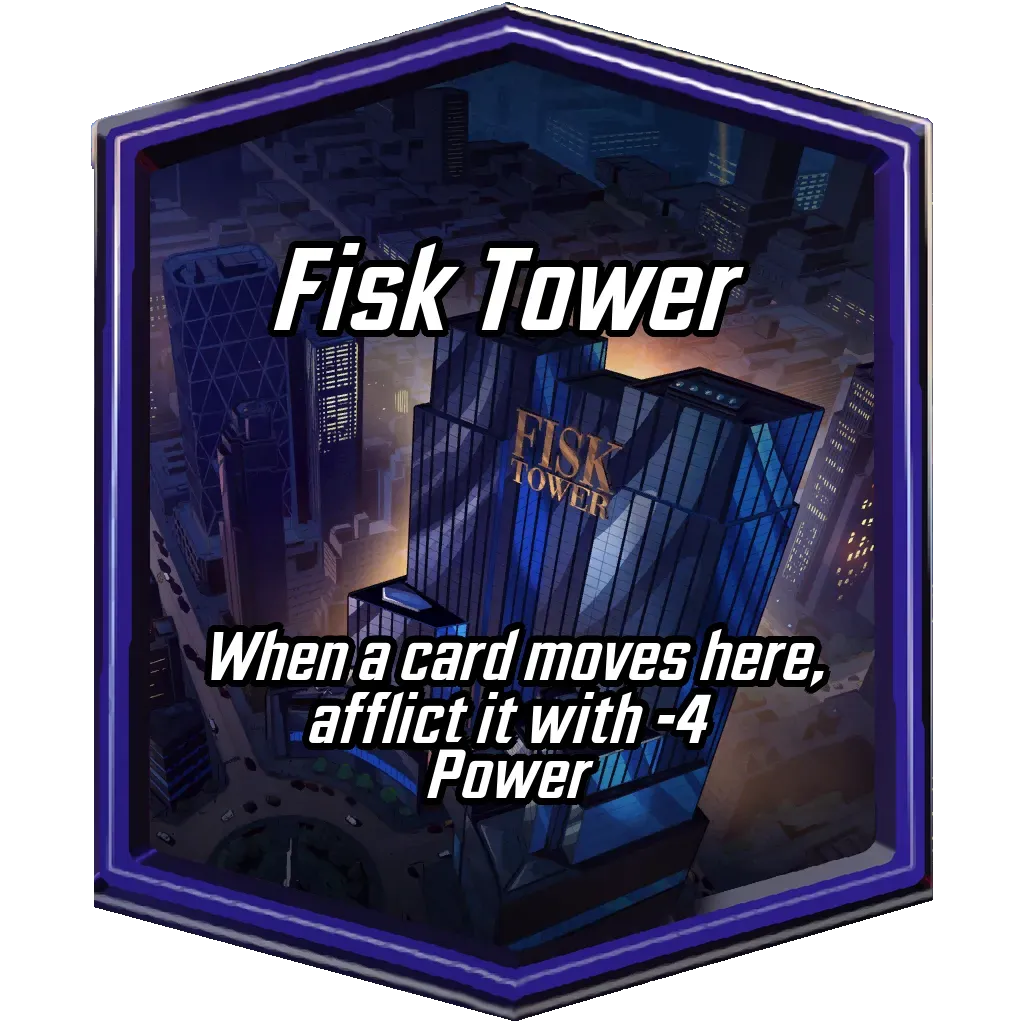
- Effect: “When a card moves here, afflict it with -4 Power.”
- Strategy: Avoid moving cards to this location unless absolutely necessary. Use cards with the ability to move enemy cards here. Like Polaris
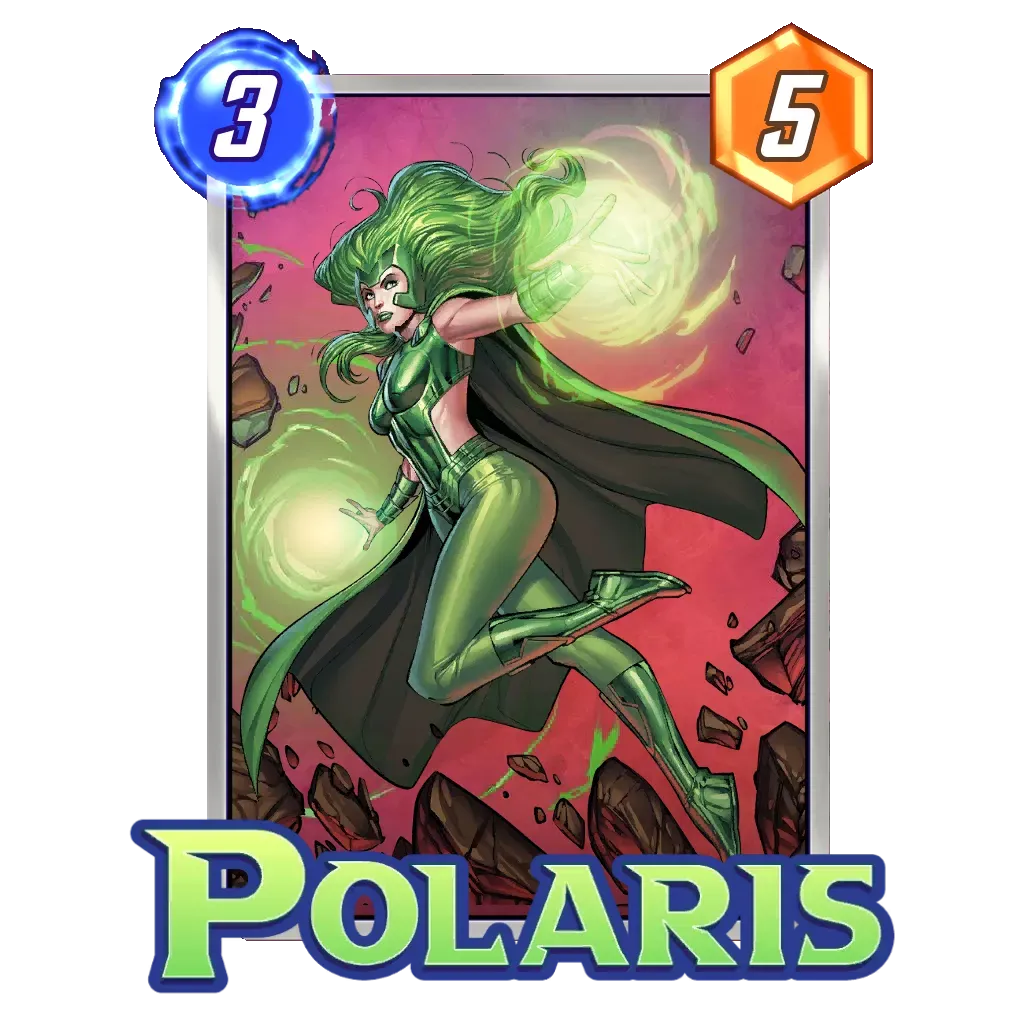 or Magneto
 .
.
Project Pegasus
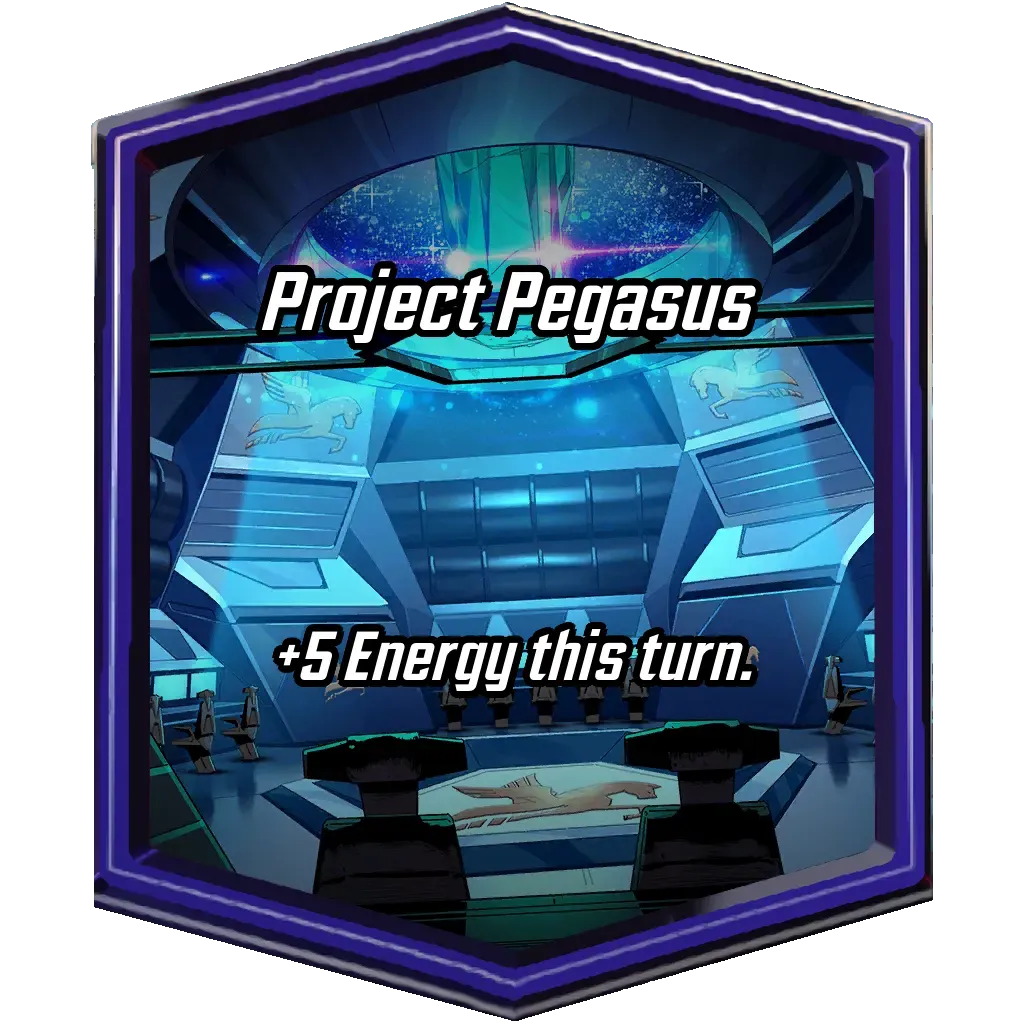
- Effect: “+5 Energy this turn.”
- Strategy: Take advantage of the extra energy by playing high-cost cards early. This can help you establish a strong board presence and gain an early advantage.
Deck Synergy
Building decks that synergize well with specific types of locations can significantly enhance your gameplay. Here are some tips on how to build effective decks:
- Location-Specific Cards: Include cards that directly benefit from specific locations. For instance, cards like Ka-Zar
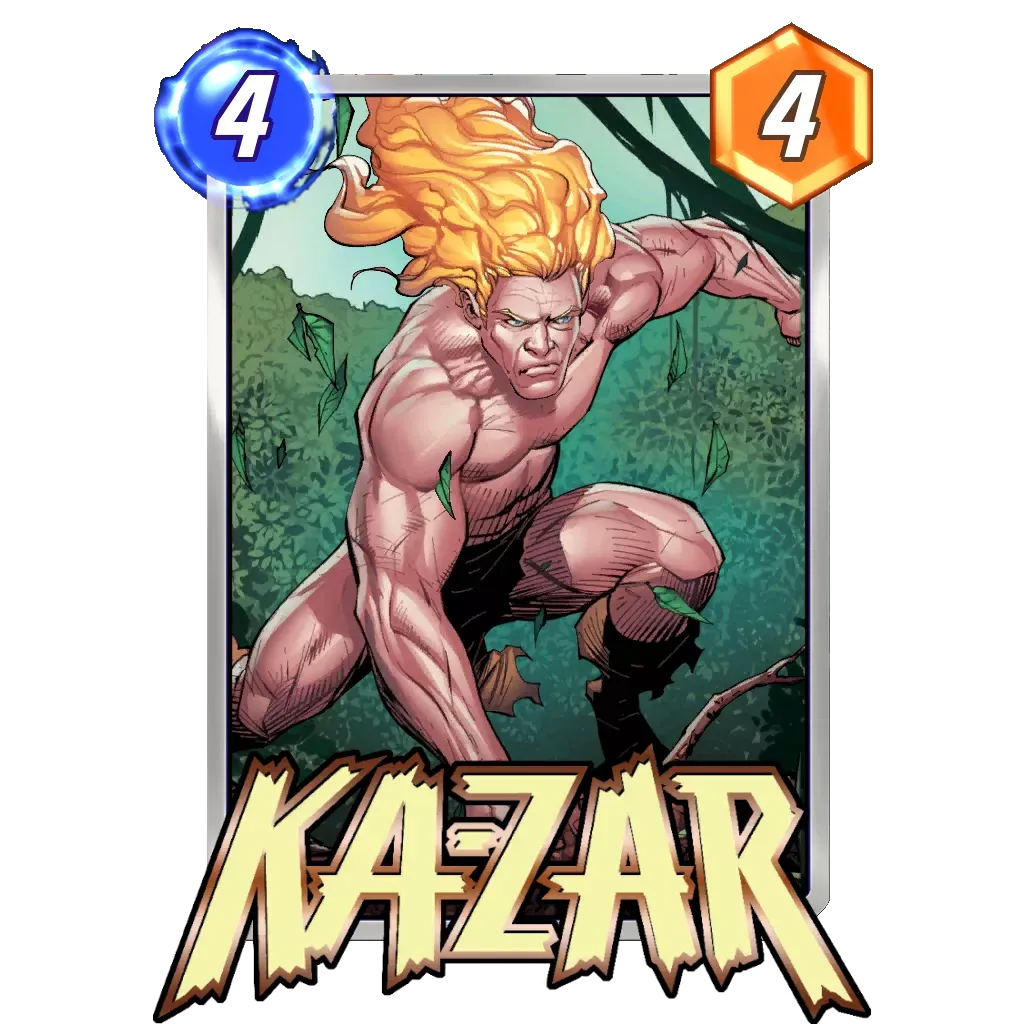 work well with locations that spawn additional 1-Cost cards, such as Savage Land
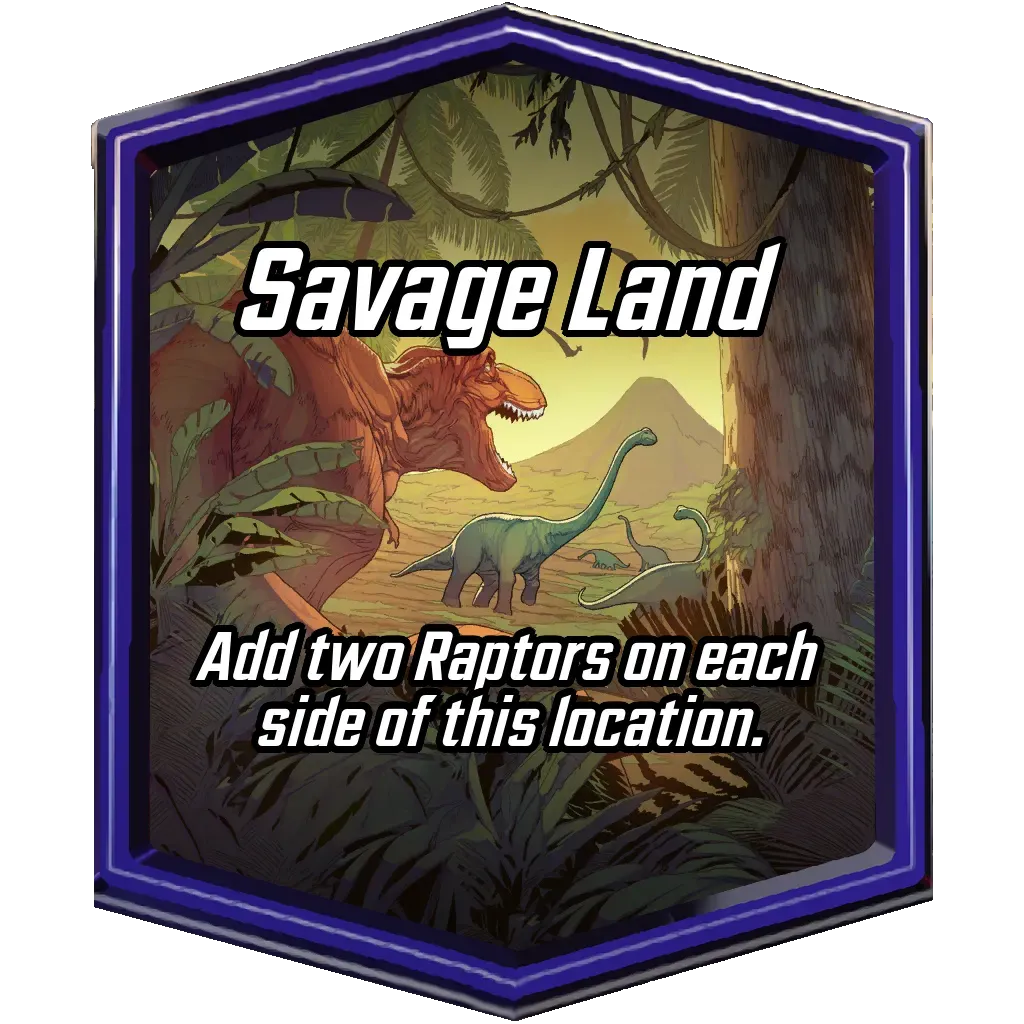 (“Add two Raptors on each side of this location”).
 - Flexible Decks: Create decks with a variety of card types and abilities to adapt to different locations. Cards like Doctor Strange
 (Move your highest Power card(s) to this location) can help you reposition your strong cards to more favorable locations.
 - Power Buffs and Reductions: Use cards that can either negate negative effects or enhance positive ones. For example, Armor
 (“Cards here can’t be destroyed”) is excellent for protecting your cards in locations like Death's Domain
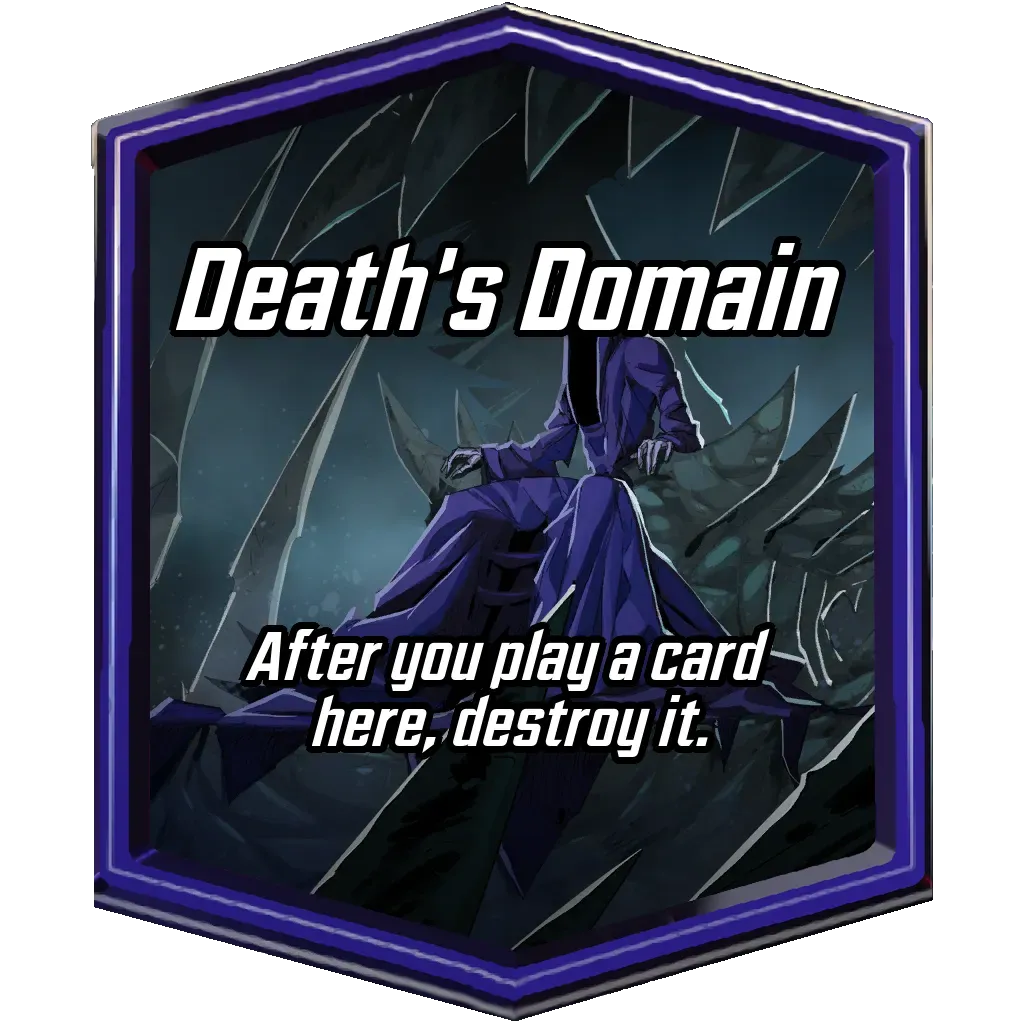 (“After you play a card here, destroy it”).
Examples of Cards and Decks that Perform Well in Certain Locations
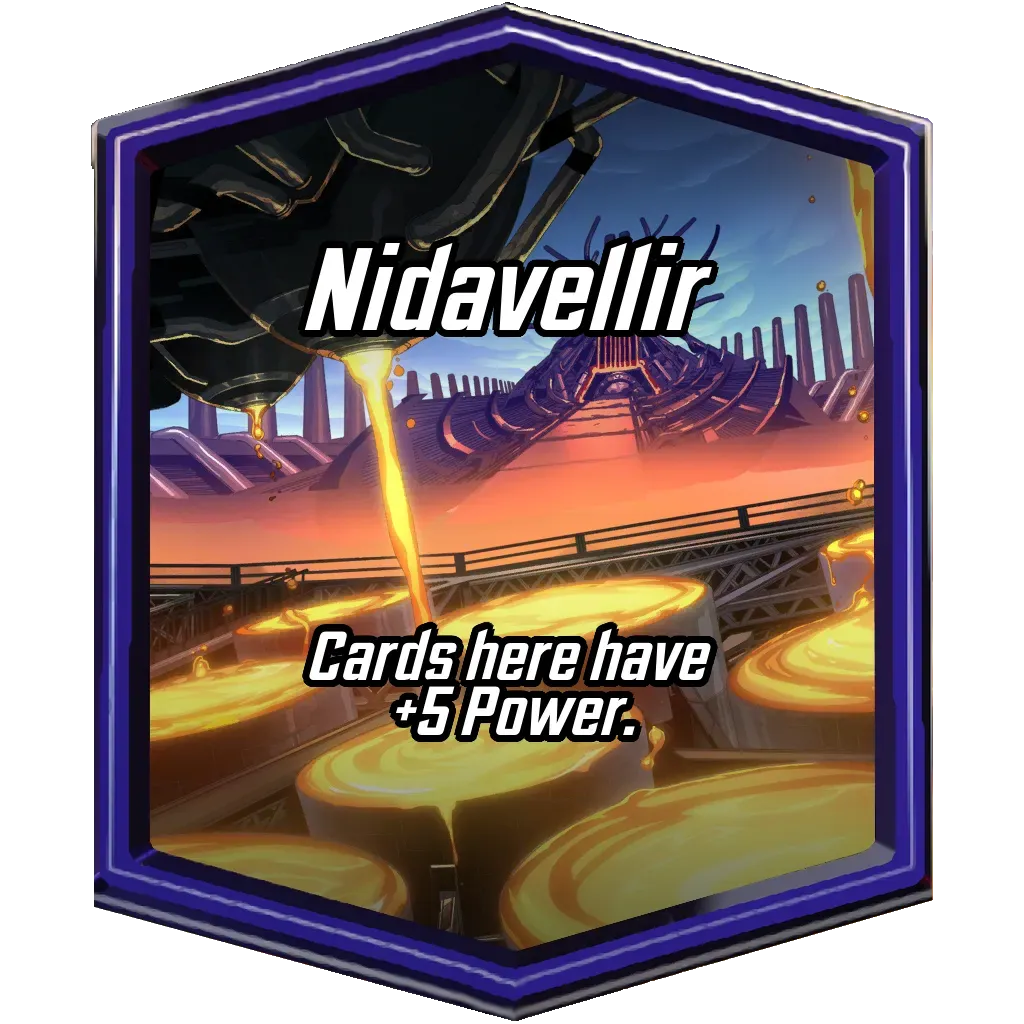
Nidavellir

Kamar-Taj
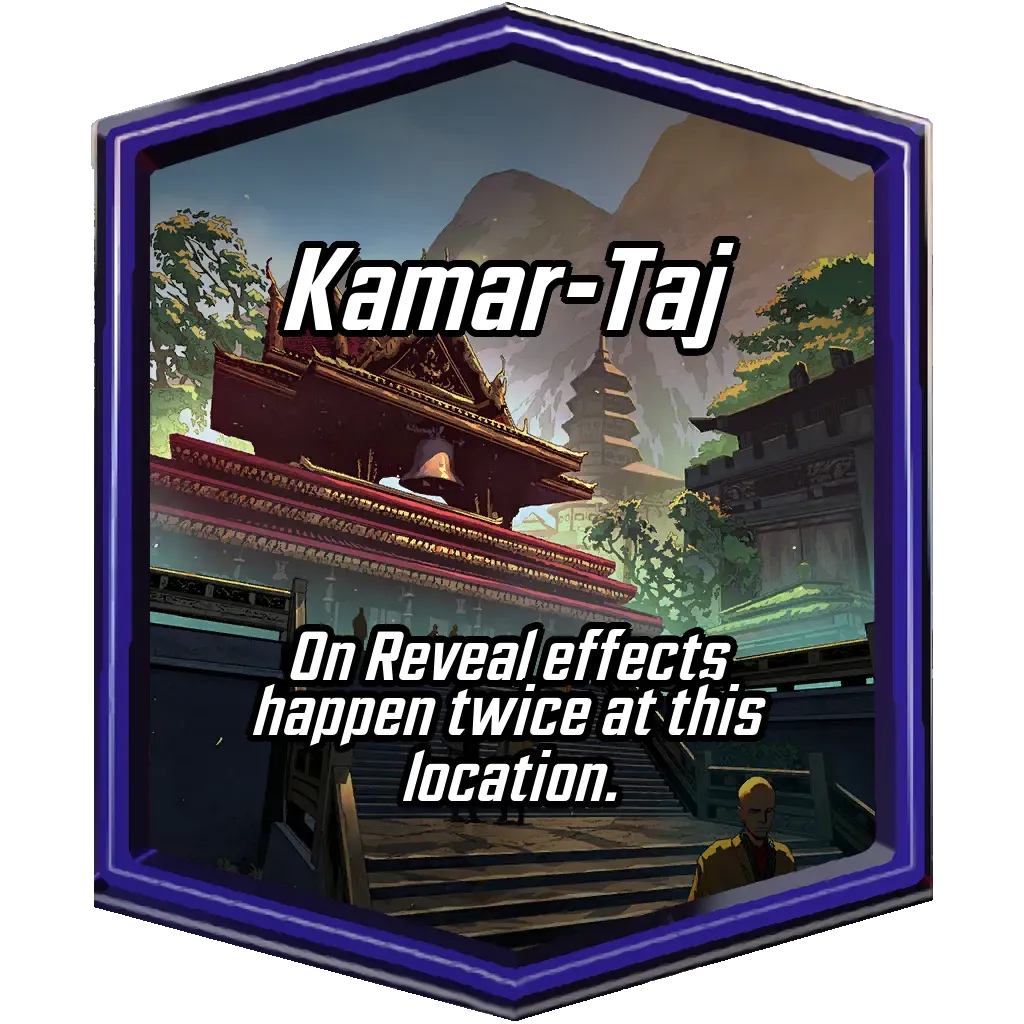
- Effect: “On Reveal effects happen twice at this location.”
- Best Cards: On Reveal cards like Ironheart
 (Give 3 of your other cards +2 Power) and White Tiger (Add an 8-Power Tiger to another location).
 - Deck Example: An On Reveal deck with cards that have powerful On Reveal abilities, ensuring maximum benefit from the location.
Miniaturized Lab
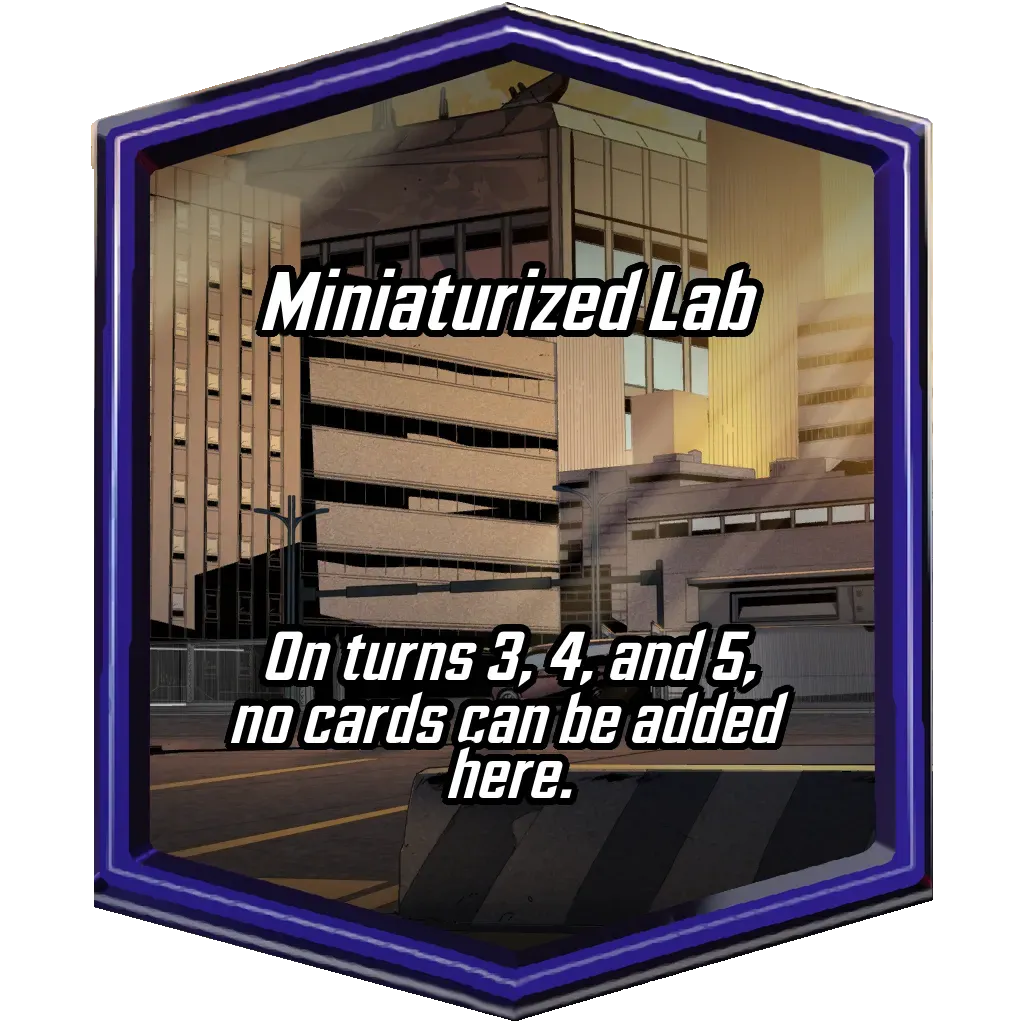
- Effect: “On turns 3, 4, and 5, no cards can be added here.”
- Best Cards: Cards that can move after being played, like Vision
 or .
or . - Deck Example: A mobility-focused deck with cards that can be moved after placement, allowing you to adjust your strategy based on the evolving game state.
Flexibility and Adaptation
Having a flexible strategy is essential to adapting to unpredictable location effects. Here are some tips on adjusting your gameplay based on the evolving state of locations:
- Early Game Assessment: Use the early turns to gather information about the locations and adjust your deck strategy accordingly. If a location like Dream Dimension
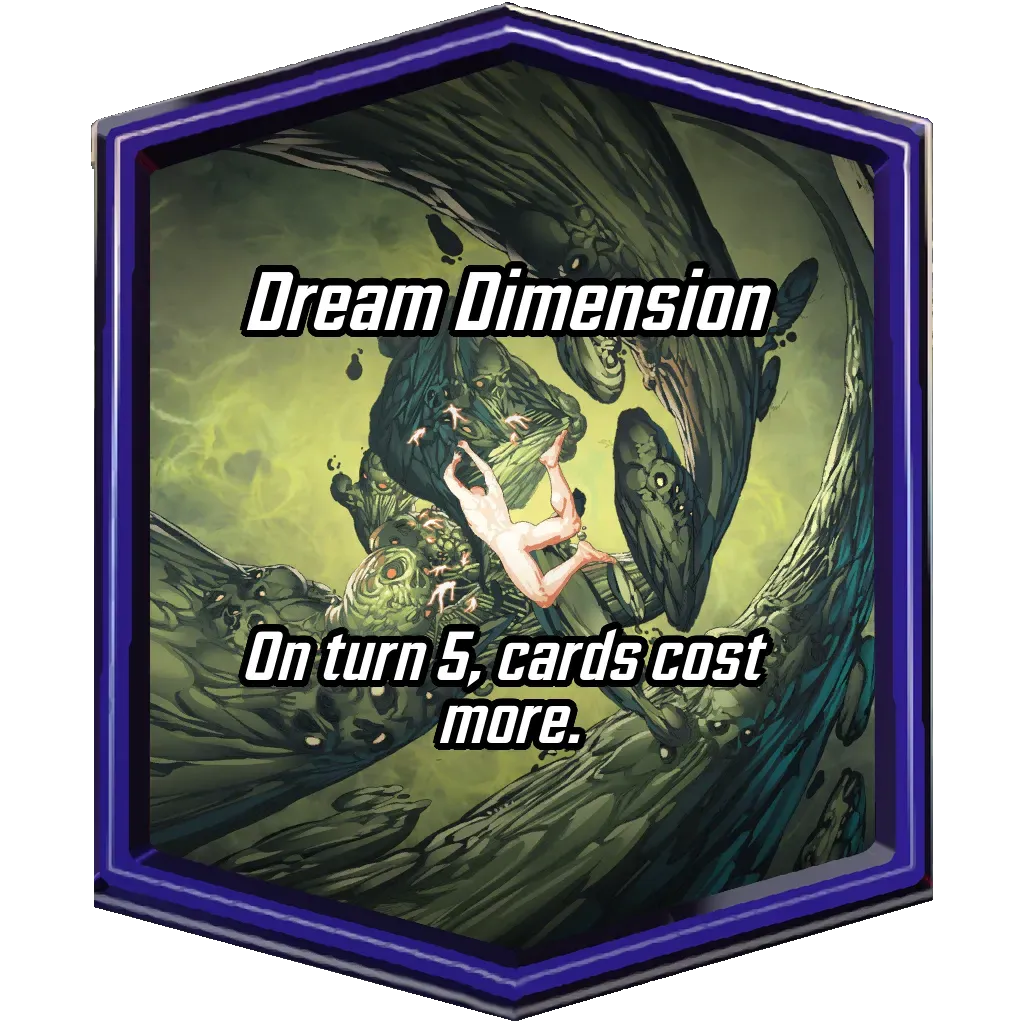 (“On turn 5, cards cost 1 more”) is revealed early, plan to play your high-cost cards before turn 5.
 - Card Versatility: Include versatile cards in your deck that can adapt to various situations. For example, Scarlet Witch
 can change unfavorable locations to new ones, giving you more control over the battlefield.
 - Plan B: Always have a backup plan. If your main strategy is disrupted by an unexpected location effect, be prepared to pivot to an alternative strategy that still leverages your deck’s strengths.

By following these tips and understanding the importance of locations in Marvel Snap, you’ll be well-equipped to dominate the battlefield and achieve victory in your matches.
Conclusion
Understanding and leveraging locations in Marvel Snap is crucial for mastering the game. By learning the mechanics, assessing location effects, building synergistic decks, and staying flexible, players can significantly enhance their gameplay. Adapting to the dynamic nature of locations will give players a strategic edge, making each match unique and engaging. New players are encouraged to experiment with different strategies and join the Marvel Snap community for further insights and support.